The place to discuss your hardware and software/firmware modifications...
-
insta
- Posts: 2007
- Joined: Tue Sep 16, 2014 3:59 am
Post
by insta » Sun Jul 26, 2015 1:22 am
Custom 3D printing for you or your business -- quote [at] pingring.org
-
jimc
- Posts: 2888
- Joined: Wed Apr 09, 2014 11:30 pm
- Location: mullica, nj
-
Contact:
Post
by jimc » Sun Jul 26, 2015 2:22 am
do you just hear a difference or do you see any improvements in print quality? ringing etc?
-
insta
- Posts: 2007
- Joined: Tue Sep 16, 2014 3:59 am
Post
by insta » Sun Jul 26, 2015 2:31 am
Print running now, will update later

At a minimum, I can at least carry on a conversation in my printer room now.
Custom 3D printing for you or your business -- quote [at] pingring.org
-
Tim
- Posts: 1205
- Joined: Thu Apr 10, 2014 2:19 pm
- Location: Poolesville, Maryland
-
Contact:
Post
by Tim » Sun Jul 26, 2015 2:41 am
Honestly, the noisiest part of mine is the power block fan. Although the motor noise is more of an annoying whine instead of white noise. If the dampers improve quality, though, then it's a no-brainer.
Although they're all whisper quiet compared to my Agilent 6626A quad power supply. I don't know why they used jet engine turbines for the cooling fans.
-
Matt_Sharkey
- Posts: 347
- Joined: Mon Oct 20, 2014 3:10 pm
Post
by Matt_Sharkey » Sun Jul 26, 2015 3:58 am
you have my attention... what was the install effort? bolt on?
-
Jules
- Posts: 3144
- Joined: Wed Jan 21, 2015 1:36 am
Post
by Jules » Sun Jul 26, 2015 4:25 am
Okay......And where does one put them once one has acquired them? (Picture please, for those of us mechanically challenged.)
-
jimc
- Posts: 2888
- Joined: Wed Apr 09, 2014 11:30 pm
- Location: mullica, nj
-
Contact:
Post
by jimc » Sun Jul 26, 2015 4:27 am
they are rubber isolators so the two holes and the top plate bolt to the frame and the motor bolts to the lower plate and 2 holes. there is only rubber attaching the 2 plates.the motor will be basically hanging off rubber only.
-
insta
- Posts: 2007
- Joined: Tue Sep 16, 2014 3:59 am
Post
by insta » Sun Jul 26, 2015 4:30 am
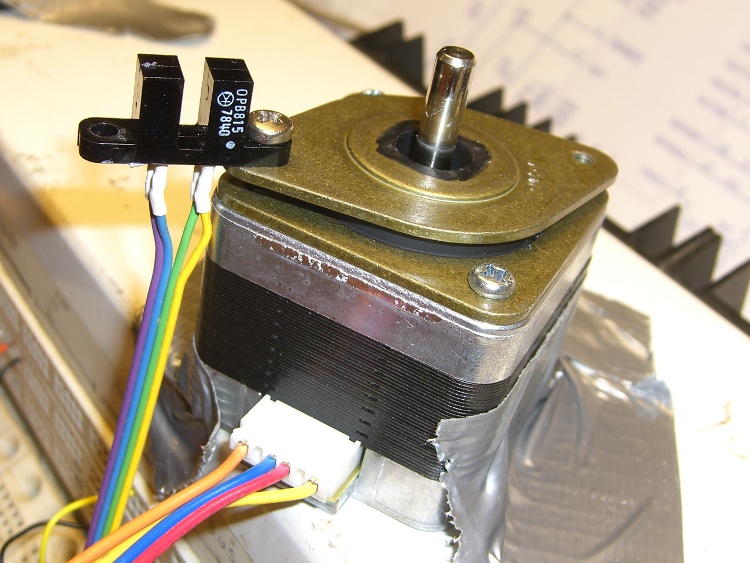
The dampers install between the NEMA17 motors (X & Y) and the frame. They have two unthreaded holes that you use to fasten it to the motor face with included M3x6mm screws, then you fasten the damper itself to the frame with the remaining threaded holes. The damping is provided by a thick rubber gasket molded to the two metal halves, so the motor is isolated from the frame by that rubber gasket. Install was about 10 minutes per machine. You do have to loosen and adjust the height of the belt pulleys, as the motor sits ~ 4mm lower than before. I don't see it making print quality worse in any way, and since I have 4 (+? email me back rick) machines, that volume adds up.
I'll leech a pic from Ed's site:
Custom 3D printing for you or your business -- quote [at] pingring.org
-
Jules
- Posts: 3144
- Joined: Wed Jan 21, 2015 1:36 am
Post
by Jules » Sun Jul 26, 2015 4:45 am
Most excellent! Thank you. (You're welcome to the two extra if you need them for your growing hive.)