Busy weekend!
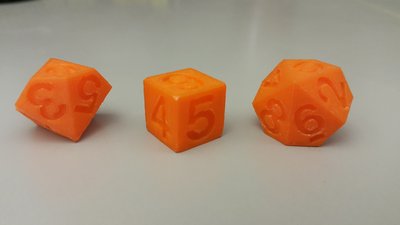
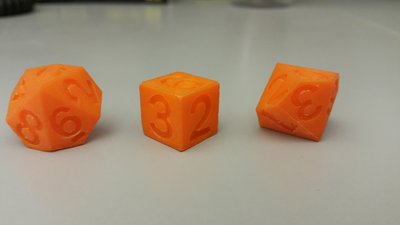
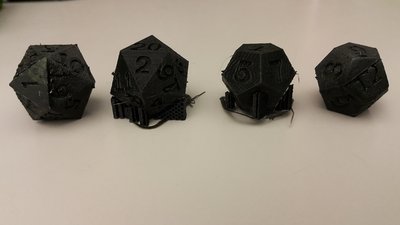
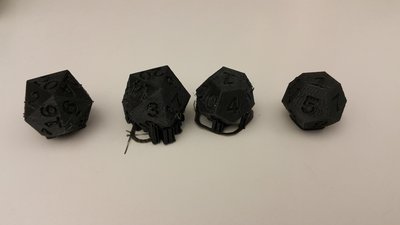
I was finally able to get the fewer-sided dice printing to a level good enough for me. I now have 6 of each, d6, d8, and d10. I've cleaned them up, which took a good deal longer than expected, particularly for the support printed into the number 1 which faces down on all the dice. I also tried printing a batch of d12s and d20s. I used the same design, essentially, as the other smaller dice. I used essentially the same settings as the smaller dice, though these are larger because I wanted to keep a good-size font. They didn't turn out as bad as my early attempts, but there's definitely some of that distortion around the early layers. The main things that changed were 1) new color filament, same source (MakerGear), 2) slightly different infill amount, though I'm not certain. If so, it was a small change, like 5%. 3) I discovered that my split AC unit in the room with my printer stopped working, but I'm not sure if that happened during or after the print. It's a 3-month-old expensive DC inverted model too.

The rest of the house keeps the room from getting actually hot, but because the door stays closed to keep kids and unwary cats out, it did get several degrees warmer. Pictures below.
Spotopolis: I tried your suggestion of fully tightening the leveling screws, that does seem to help. I also noticed that my glass plate seems to not actually be flat.

I use a piece of thin printing paper to level, moving it to feel an equal amount of drag between the nozzle and bed. when I do this at my axis leveling points, i get the same level. I noticed that when I check the level in the center of the platform, there is considerably more drag, meaning the gap is smaller. For now, I'm chocking this up to the masking tape not having even thickness. As for prying, that's a good point. I try not to put any force on the build plate, but the pieces really stick on there. (but I still occasionally get a piece to separate, go figure) The method I've been using is to brace the Y axis so that pushing in my tool doesn't shove the platform around, and then wiggle in a fine-scale sculpting tool. It's a flat squared spatula type, made of surgical steel. I think I will pick up the tool you linked and give that a go, though it'll be a while before it arrives.
I'm still debating how I'm going to go about finishing these. The amount of work to get good clean edges and everything makes me hesitant to experiment with them. I'll probably print out a few test objects. I'm torn between acrylic resin and a UV hardened plastic resin. The UV is considerably more expensive, but also would be less work and solidifies clear, so could have some neat effects. I'll share my finished items when I'm done.

- cleaned up d6, d8, and d10 view 1

- view 2

- d12 & d20 as printed, 2 with supports still attached

- view showing surface on print bed
