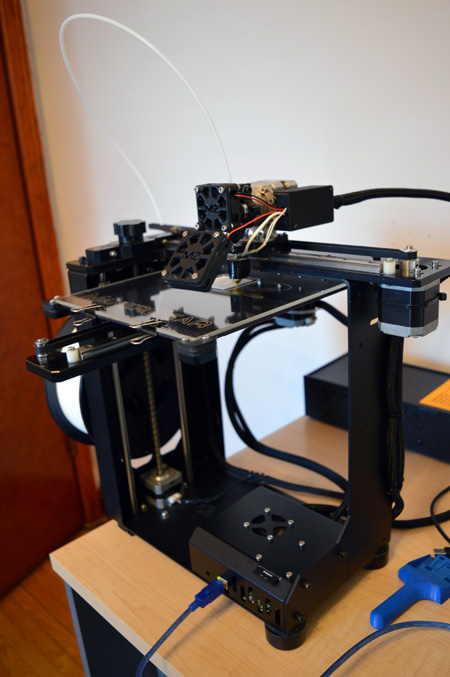
I got some work done on the M2 rebuild last night

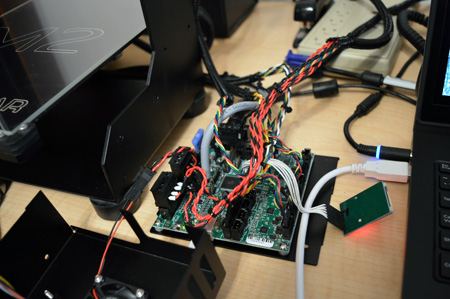
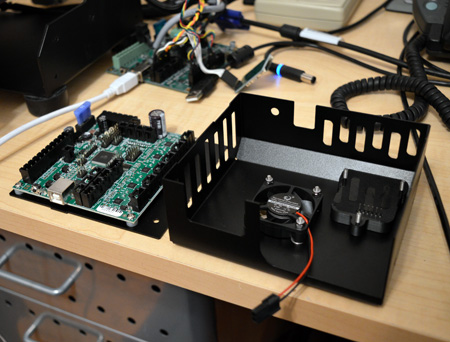
Mounted the Rambo board in the new metal case:
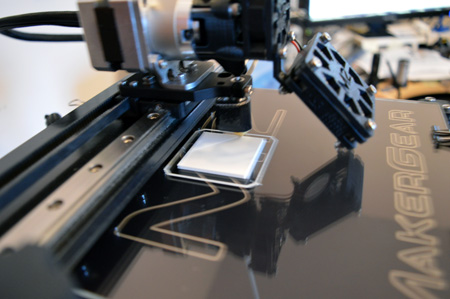
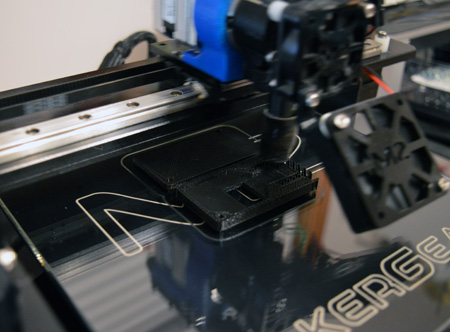
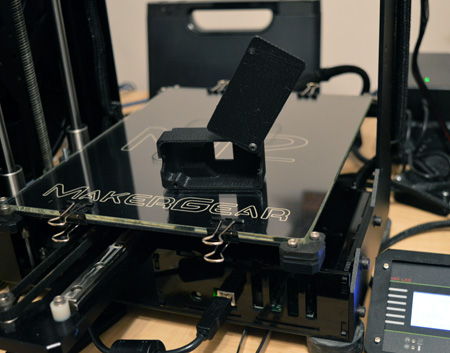
Printed the V4 wiring box on my working M2:
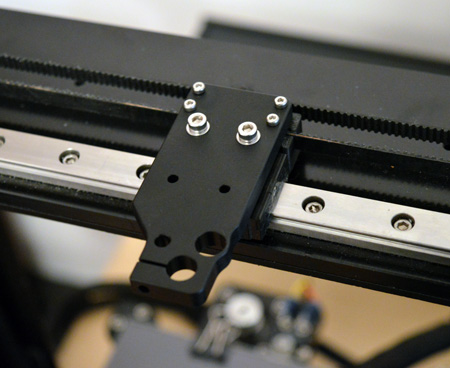
Attached the V4 mounting plate:
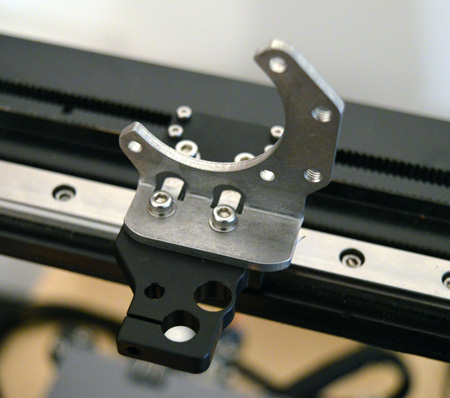
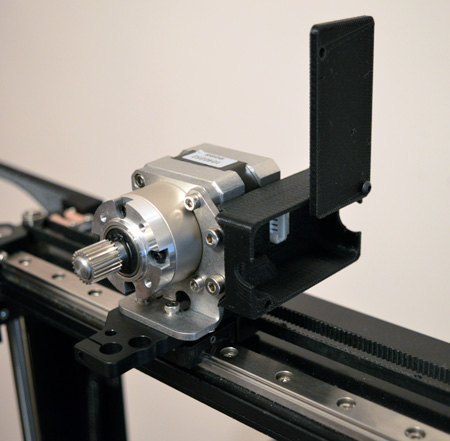
Attached the metal motor mount:
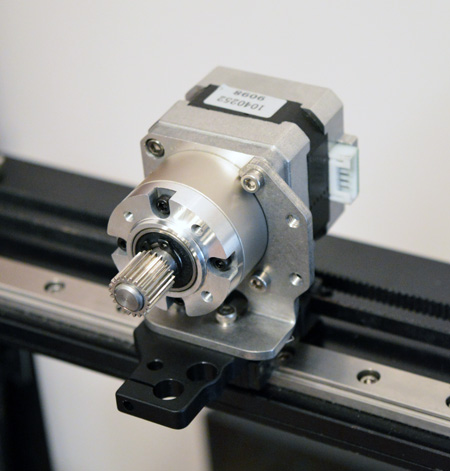
Mounted the geared stepper:
Attached the wiring box:
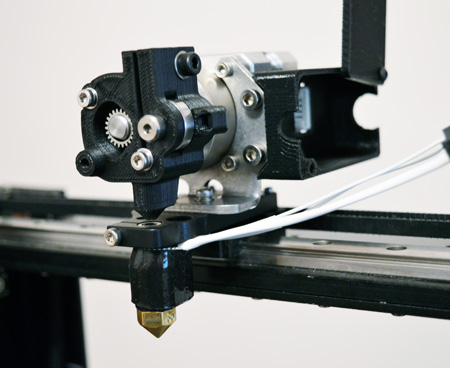
Mounted the V4 hotend:
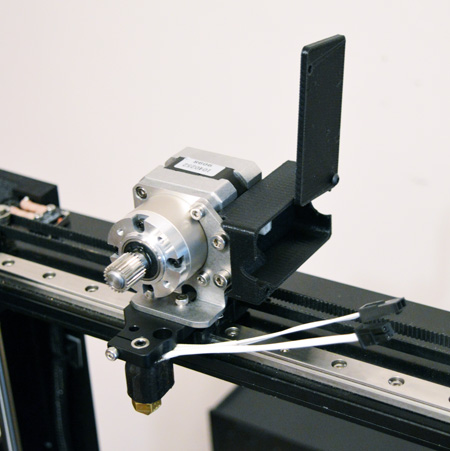
Filament guide attached to stepper gear box:
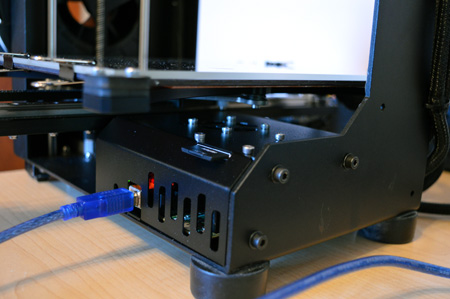
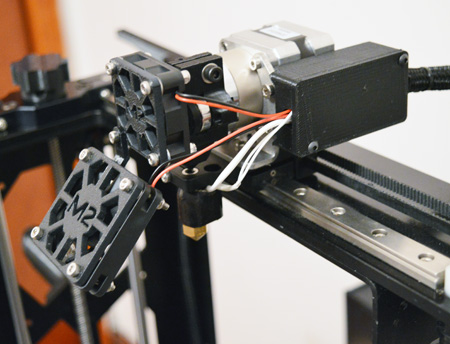
Keeping it cool:

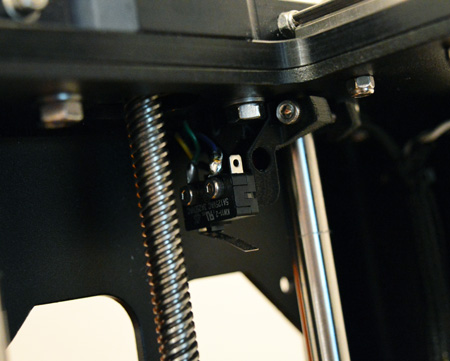
Extruder harness wired up with connectors inside the box:
The Next steps will be to:
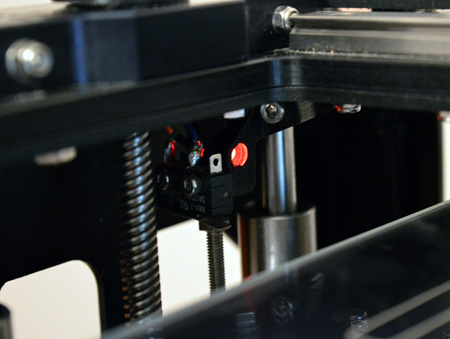
1. Attach the new Z-Axis endstop
2. Wire everything to the controller
3. Update the firmware
4. Level the bed
5. Set Z height
6. Test print!